So you're interested in hacking graphics are you? Well, you've come to the right place! The following should give you an idea of how to go about changing any type of graphics in a rom (assuming the graphics aren't compressed, which is beyond the scope of this tutorial). For this tutorial, I'll be using the English Final Fantasy rom and Tile Layer Pro (TLP). You can get TLP at http://romhacking.deadbeat-inc.com/ Don't email me asking for the rom; you're on your own there.
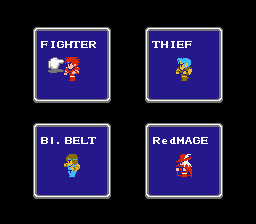
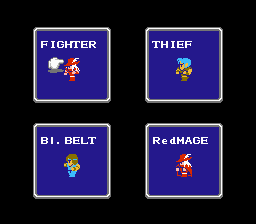
Anyway, fire up the unaltered rom in your favorite emulator (I use FCEUXD). The graphic of the Fighter in the below screenshot is what we're going to change; his free flowing long red locks annoy me. Once you're finished ogling him, close the emulator.
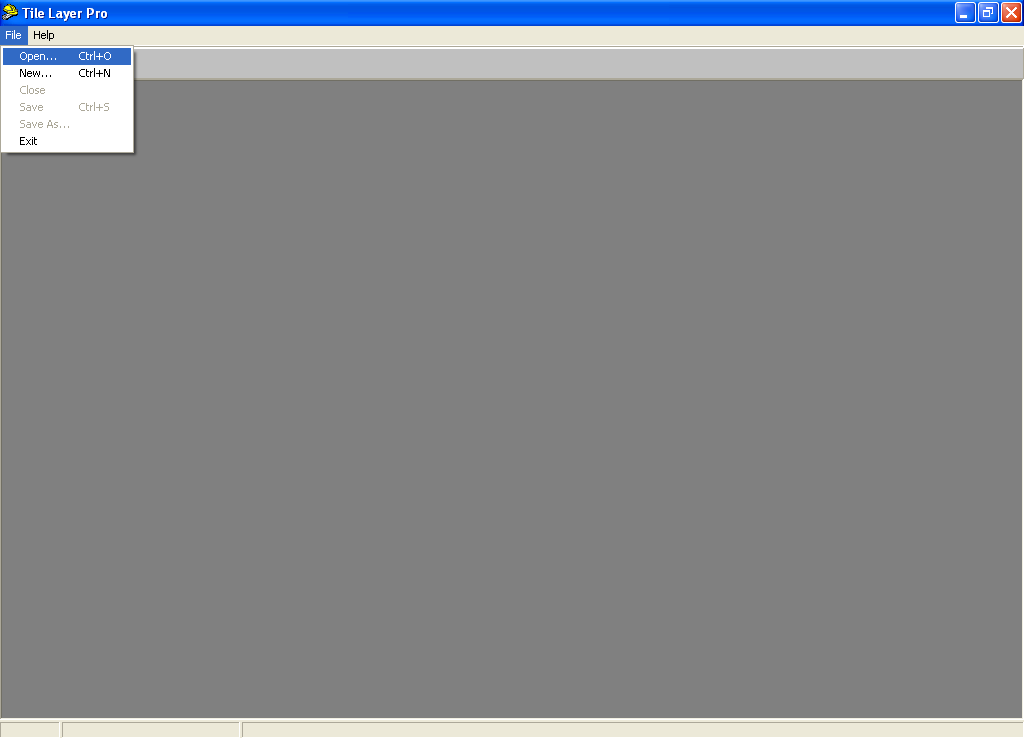
Next, find Tile Layer Pro and fire it up. In TLP, open up the FF1 rom.
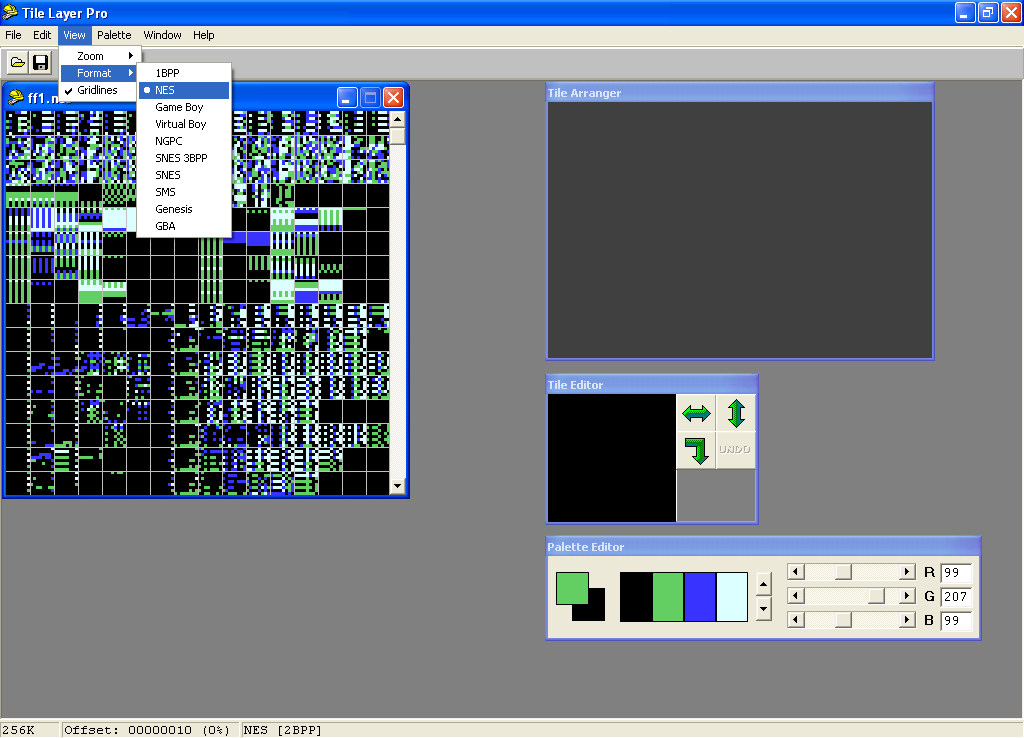
Before we can change the graphics, we have to find them. This usually entails scrolling down through the rom in various viewing modes (which can be changed view the View option on the toolbar) until you stumble on to them. The graphics we're looking for are stored in the NES format. Select it if it isn't already.
After you've found the graphics, you can then begin to work on changing them.
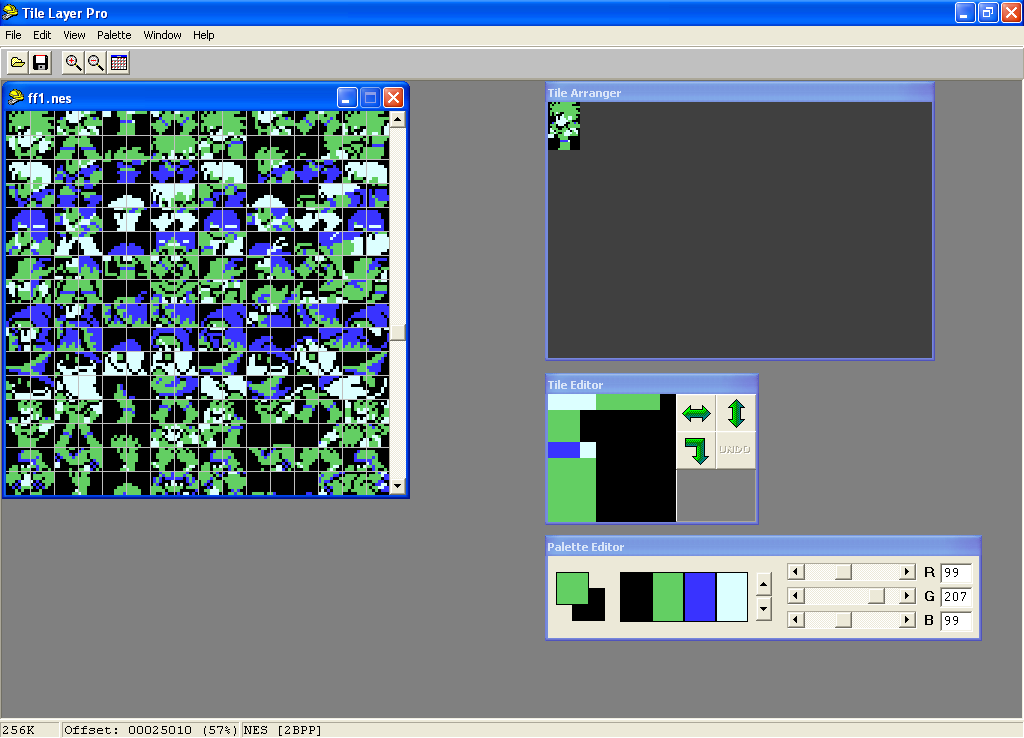
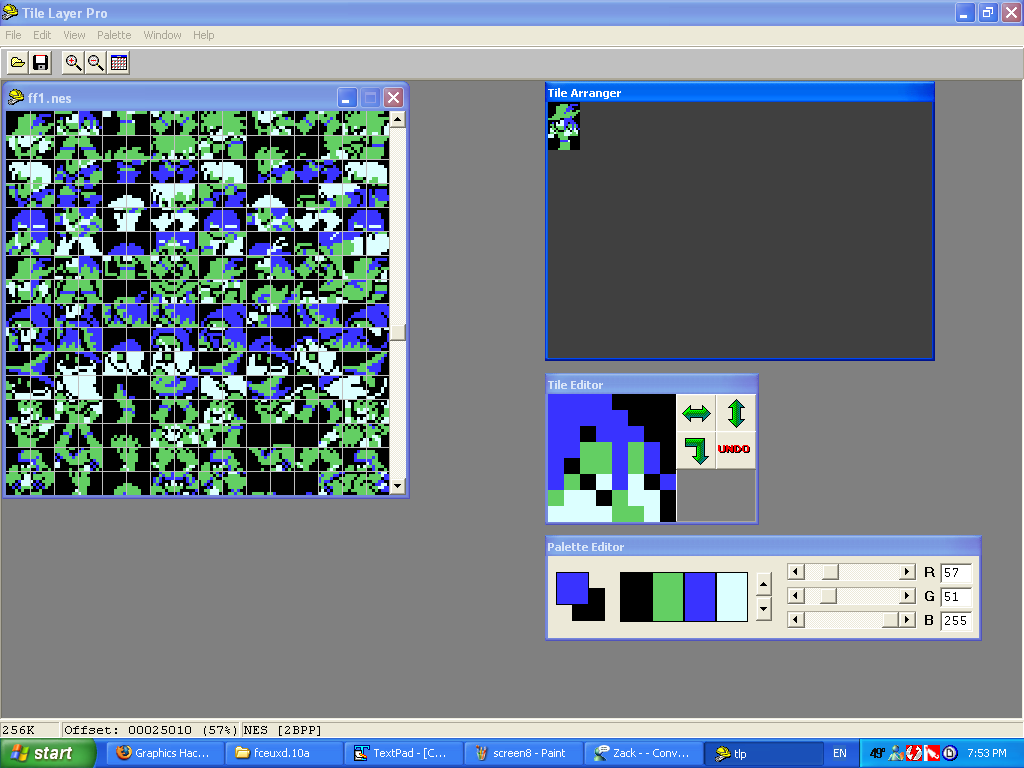
In TLP you can select an 8x8 tile by left-clicking it. Doing so will bring the tile up in the Tile Editor window. Right-clicking again within the Tile Arranger window will allow you to paste the tiles so that you can arrange them as they appear in-game. Rarely do games store their graphics in the way they're viewed in-game, so this is a really helpful feature. The graphics we want to change (the Fighter) are the first six 8x8 tiles running from left-to-right at $25010. Copy and paste them into the Tile Arranger, as I've done in the below screenshot.
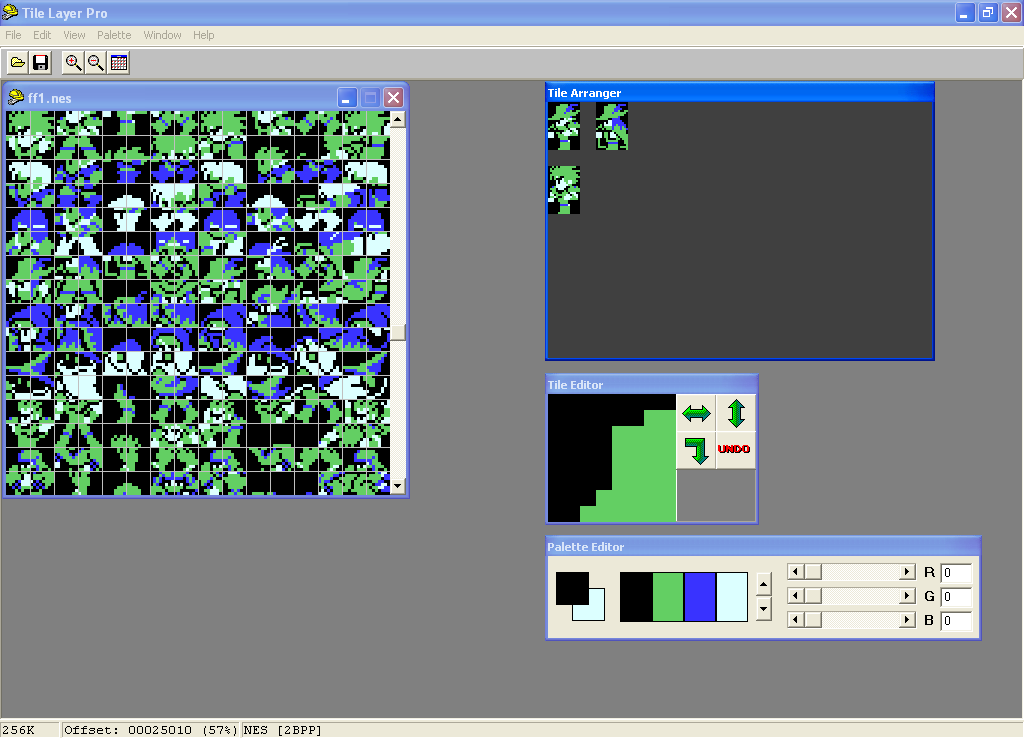
Now, I really don't like the Fighter's hair; I think he needs a hat. So what we're going to do is copy and paste the tiles making up the Red Mage's hat over the Fighter's head. I've copied and pasted both the unaltered Fighter and Red Mage graphics in the below. What you want to do is left-click each of the tiles you want to paste and then right-click the area you want to paste them at. Here I've copied and pasted the top two and first of the middle tiles of the Red Mage over the Fighter.
Now we need to get the altered graphics back in the rom. To do this, you will need to employ a drag-and-drop approach, which any one who has been using a computer for more than a day should be familiar with. Just left-click the tile you want to put back in the rom and while still holding the left mouse button, drag the tile (the cursor will change) over to the tile in the rom window you want to replace. Release the left button when you've got it where you want the tile to go and voila! It's back in the rom. Rinse and repeat for each tile.
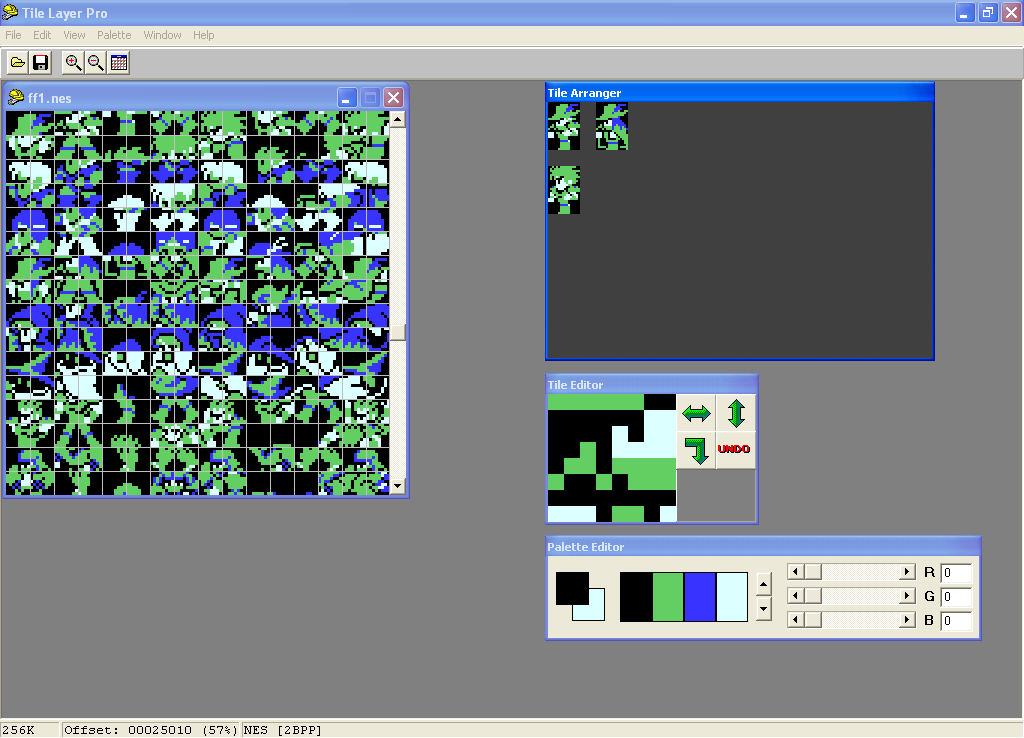
If you'll notice, the back part of our Fighter's new hat doesn't quite look right. Looks a little inconsistent, no? Well, using the Tile Editor window, we can smooth out that little rough spot. Before we do that, however, due to the way in which the Tile Arranger works (consult the Help file for more on this), we need to recopy from rom the tiles we just put over there, so as not to affect the Red Mage's tiles; re-read the first part of this document if you've forgotten how to copy tiles from rom into the Tile Arranger - it's the same process just the Fighter's tiles are now different.
First thing you want to do, is set up the colors in the Palette Editor window. These colors in no way reflect the final in-game colors, though; that information is stored elsewhere in the rom itself, so feel free to toy with the RGB values for each color as you see fit. Alternatively, you could import a palette (check the Help file for more on this). The number of colors available on the palette for use is entirely platform dependent. If you change the Viewing format, the number of colors on the palette will increase or decrease accordingly.
In order to edit the selected tile in the Tile Editor, we need to set each mouse button with a color to draw. In the Palette Editor window, the color in the box in the foreground (green in the below screencap) is assigned to the left mouse button, and the color in the box in the background (black below) is assigned to the right mouse button. If you want to change colors, just click on which of the four available colors you want to change to. For example, if I wanted to change the right mouse button so that, instead of black, I'd have blue assigned to it, I would right-click the blue box. Same goes for the left button, except you'd select by left-clicking instead of right-clicking.
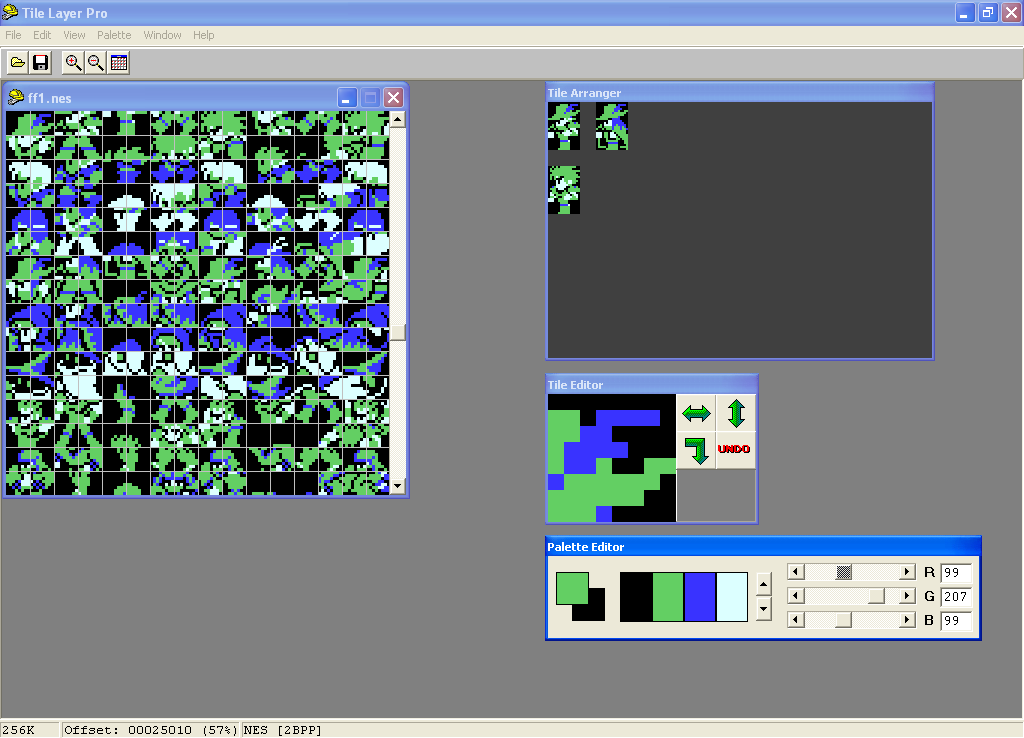
Actually editing the tile is simple. The Tile Editor works just like any of your standard pixel-based paint program (like MSPaint) would. You'll notice in the below screencap that I gave the Fighter some long hair over his armor and altered his right hand and arm so that they're more congruent with the original Fighter sprite. You'll also notice that the Red Mage and Fighter reference sprites were removed. I did this by clearing the Tile Arranger (under Edit on the taskbar) and then repasting the tiles I was working on.
At this point, if you were to save this rom and play it until you got into a fight, you would notice that when the Fighter goes to attack, the animation will still contain certain parts of the original Fighter sprite. Why is this? Because we only edited a single sprite. To fix this, we will need to alter all of the tiles for the Fighter to reflect his sexy new hat and white locks. Basically, you just have to repeat the above process for each sprite. I'll leave that to you.
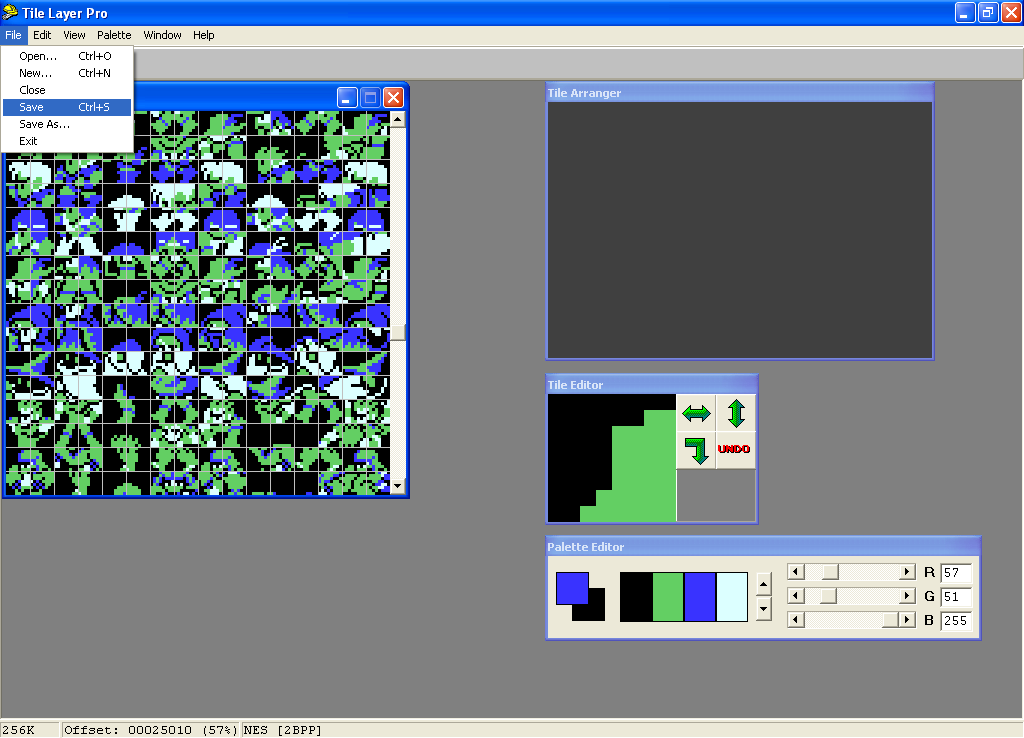
Anyway, once we've finished putting the altered graphics back in the rom, all we need to do now is save. You can either use the Floppy Disk icon or the toolbar (see below) to do this.
Fire the altered rom up in your emulator and check it out. Dude, that sword totting fella is one bad mother now.
That's pretty much it folks. Every game is different, so if you can't find the graphics, try using different viewing formats. If you still can't find the graphics you want to change, they might just be compressed. If they are, you'll most likely need to do some assembly level hacking in order to decompress them. Again, this is beyond the scope of this tutorial. Ask around on the Romhacking.net boards if you need help with this or any other topic!
--RedComet