
 |
|
|
Jobs
The jobs can be accessed from the BBS
board at SciLab. Mostly they'll just give you some nice extras, but
certain jobs must be
completed to access
certain areas in the game. Not all jobs are initially available. Check
the BBS periodically for new jobs:
Lan
felt the burning desire to do good for other people.
That or he was hungry.
Job 1
"Please deliver this"
| Get to ACDC 1 (via Dex's HP
is the easiest way and talk to the Red Navi near the entrance to ACDC
3, and she'll give you the Old Tools |
 |
 |
Go to the School and jack
into the blackboard in your classroom. |
| Now give the Green Navi the Tools. Go back to the Red Navi to receive a Yo-Yo1 |  |
"My Navi is sick"
 |
One of the simplest jobs.
Just give a Recov30 * to the girl in SciLab Station. You can buy
them from Higsby if you don't have one already. You'll recrive a RegUP3 |
"Help me with my son!"
| Go to Yoka station and talk
to the woman to find out where her son is hiding. |
 |
 |
Go to ACDC 3, near the
entrance to ACDC 2, and battle the purple Navi. After you beat him,
talk to him again. Go back to his mother and shell give you a SpinYllw,
which lets you rotate yellow programs in the Customiser. |
Job 4
"Transmission error"
| Go to the Virus Lab and talk
to the scientist at the top of the screen, |
 |
 |
Head to Yoka Zoo 2 and examine (not try to jack!) the panel on the Flamingo area. Beat the viruses then go back to the Scientist for some HPMemory. |
Job 5
"Chip Prices"
| Go to ACDC Square and talk to
the Green Navi on the left. |
 |
 |
Go to SciLab Square and talk
twice to the purple Navi on the right. Head back to the green Navi,
then the purple one again (remember to talk to him twice both times!),
then finally the Green one to receive a Slasher B |
Job 6
"I'm broke!"
| Talk to the man in pyjamas to
the right of the entrance to the inn and give him the money. Then (and
this is important) walk outside, then go back inside and talk to him
again. |
 |
 |
Go to Yoka 2, near the
entrance to Yoka 1, and fight the purple Navi. Talk to the green Navi
and get the CashData from him. Jack and talk to the guy to get your
money back and some HPMemory. |
Job 7
"Rare chips for cheap!"
| Go to Yai's house and jack
into her telephone. Go left and fight the orange Navi to get 10000z. |
 |
Job 8
"Be my boyfriend!"
 |
Go to Beach Square and talk to
the orangle female navi on the left. The answers are: Yeah, that drama My own CyberMetro? Uh, sure She's give you a StepSwrd O for your troubles. |
Job 9
"Will you deliver?"
| Talk to the lady at the
bottom
of the path leading to the Inn and get the chip from her. |
 |
 |
Go to the TV Station and walk
along to the studio. On the way you'll see a businessman. Talk to him
and give him the chip. Now go back to the old lady and get another chip from her |
| Head to ACDC Square and give
it
to th purple Navi in the upper-left. Finally go back to the lady to get
an Aqua+30 |
 |
Job 10
"Look for friends"
 |
Go to the
Park and talk to the man in green. |
| Jack in and
head to Yoka 1. Cross the small pathway on the way to where Bubbleman
was, then turn right and talk to the green navi. |
 |
 |
Go to the
Zoo and talk to the white-suited man standing near the entrance. |
| Finally,
head back to the man and collect Tora's reward. |
 |
Job 11
"Stuntmen Wanted!"
<
 |
Head to
Beach 1. Take the left-sliding walkway and after you get off it, go
down the stairs. Follow the orange walkway and when you reach a turn,
go down it and talk to the orange and blue Navi there. |
| There will
be three battles against; Yort and Hardhead Spikey2 and Mettaur2 Fishy, Spikey2 and Shrimpy 2 Beetles 2 Shrimpys and Boomer None of these are very difficult. Kill them all and be rewarded with a HPMemory. |
 |
Job 12
"Riot Stopped"
 |
Go to the DNN station in Beach
and talk to the man standing just inside. He'll tell you you need to
find and destroy three viruses. These three can be killed in any order. |
| Go up the elevator towards the
room where you fought DesertMan. Before you go into the room itself,
jack into the green pass-key ting on the wall and head right to find
one of them. |
 |
 |
Outside jack into the truck
opposite the station and head right to find another. |
| The final one can be found
inside the main Battling machine in the large studio where you fought
KingMan the second time. Head down to find it. Go back and talk to the man. You'll be rewarded with the 'Tally', which will allow you access to the Undernet. |
 |
Job 13
"Gathering Data"
 |
Go the Teacher's Lounge in
the school and talk to the man at the bottom of the room. |
| Now head to the upper level
of SciLab 1 (by passing through the lower green archway). Follow the
yellow path. When you reach a green navi walking up and down, turn left
and talk to the floating green Navi you see there. |
 |
 |
Go to ACDC2, the large area
where you found the BubbleMan cronies, the key to the school etc, and
talk to the purple Navi there. Trade him a Yo-yo1 G for the data. |
| Go back and give it to the
man, and be rewarded with a SloGauge * |
 |
Job 14
"Somebody, please help!"
 |
Go the Principles Office and
talk to the Teach. Jack in. |
| The first bomb is left before
you pass the green floating Navi, and attached to the red panel.
Examine it and press 'Red' to disarm. |
 |
 |
Go to Prncp's PC 2 and go
down and left past the green Navi, then up to reach the red statue.
Press 'Wooden' to disarm. |
| The final bomb is the huge
bank of screens near the bottom-left of the area. Examine and press '0'
to disarm. jack out and talk to the teacher to get an AntiRecv B |
 |
Job 15
"Looking for condor
 |
Go speak to the woman above
the entrance (near the cages). She's fill you in. |
| Go to the room where mamoru
was in the Hospital (2nd floor, first door) and get the old doll |
 |
 |
Go to the slide in ACDC park
and place the doll there by examining the slide. Go into any house,
come back out and the condor will be there. Catch it and take it back
to the woman to get a SubMem chip. |
Job 16
"Help with rehab"
| Go to the Hospital and jack
into the TV on the left. |
 |
 |
Talk to the orange Navi on
the right and fight hhis viruses. You'll get the Humour program and the
WWW-ID (which is fantastic) |
Job 17
"Old Master"
| Go to the veding machine in
SciLab (below you) and talk to the purple Navi near the bottom. |
 |
 |
Head to the Teacher's Lounge
in the school and check the leftern-most set of books. |
| Go to Beach St and talk to
the waitress outside the shop. Go back to the purple Navi to get a
GrabRvng Y |
 |
Job 18
"Catching gang members"
 |
Go to Yoka Square and talk to
the floating Green Navi. He's tell you what's going on. |
| First Navi: Go out of the square and head towards Yoka 1 via the lower entrance (across the small walkways on the lower level). |
 |
 |
Second Navi: Go up the stairs towards the upper Yoka 2 entrance. He's in your way. |
| Third Navi: After entering Yoka 2 take the first turn you come across, then head past the purple barrier to find him. |
 |
 |
Fourth Navi: Follow the path across the small walkways in Yoka 2 to where BubbleMan was. Go back to the program in the Square to get the ExpMemory reward. |
Job 19
"Please adpot a virus"
| Go to SciLab 2 and find the Navi facing the Bunny virus. Give him 50 BugFrags to receive the virus. | 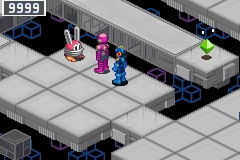
|
Job 20
"Legendary Tomes"
 |
Go to Hades Island and jack
into the first console inside. Take the small walkways around and reach
the purple floating Navi. |
| Head to Under Square and head
up, right, down. Talk to the stationary Navi. Pay him 7000z to get the
book. |
 |
 |
Go to Undernet 6. Take the
first two conveyerbelts up, then go right and talk to the Navi. You'll
have to fight to get it though. |
| Go to Undernet 3 and head to
where FlamMan was. Talk to the purple Navi on the way there and trade a
Magnnum1 A (you can get them in WWW Comps 3 and 4) for the tome. Now go
to the Staff Lounge at ACDC School and examine the strange orange
statue at the back shelf to receive a code for 300,000z that matches
with the tomes. Give
all three to the purple Navi who asked for them to receive a FstGauge |
 |
Job 21
"Hide and seek!"
 |
Talk to the kid standing
outside the zoo to begin. Go to the Panda cage and jack in. |
| From the start, to left,
straight on, then left to find the first Navi. He'll give you a Sword E |
 |
 |
In Zoo Comp 2 head past the
first set of crossways and go left twice to find the next Navi. You'll
get a LongSwrd E |
| In Zoo Comp 3 just keep going
stright until you reach him. You'll get a GutPunch E |
 |
 |
from the entrance of Zoo Comp
4 go straight on, then left, right, left, left. The Navi'll give
you a Barrier E. When you've found all three, go talk to the kid
outside the zoo againto get GutImpct H |
Job 22
"Finding the blue navi"
| Head to Undernet 2. Take the
left hand path and go across the moving walkway to the warp pad. Ste on
it, then go up and talk to the green Navi. Fight. He's give you a
HPMemory when you beat him. |
 |
Job 23
"Give your support!"
 |
Get to Hades Island and talk to
the Scientist near the console to start the battles. You'll get 30
BugFrags for victory. Tip: Customise your folder and programs for power in this battle. The last fight is a Scuttlest with an aura of 20! |
Job 24
"Stamp collecting"
| Go to the 2nd floor o the
Hospital and talk to the nurse. |
 |
 |
Go to ACDC 1 and find the
left-most 3x3 area. Get the StmpData from the green floating program. |
| SciLab: Go to the huge area on the upper section and talk to the green floating Navi. |
 |
 |
Yoka 2: Follow the blue path around and it is on the route. |
| Beach 1: Take the moving walkway down and left, then another down and right, then go up and right and it's there. When you have all three go back to the program in ACDC 1 and talk to it, then talk to the burse to complete the job. Your reward is a StepCros Q |
 |
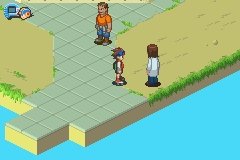
Job 25/Final
"Help with a will"
Make sure you're well upgraded with powerful chips, programs, and as much HPMemory as you can afford, because this job is hard.
Before this job you must have beaten BeastManBeta. Where to find this guy is on the 'Navi Hunt' page page.
 |
Go to the School and talk to
the
young girl outside of your classroom. She'll hand you the will. If you
read it up-down before left-to-right, you'll see it reads: squirrelarmorwaterheaterdevilpillars Now begins a right ole' scavenger hunt. See below. |
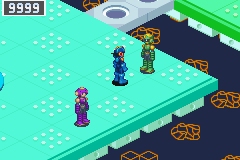
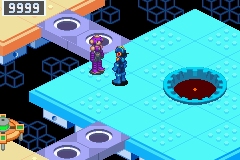
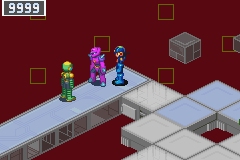
| Location | Picture | Opponents | Tips |
|---|---|---|---|
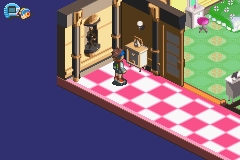
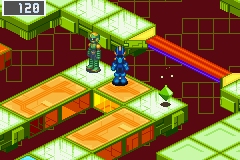
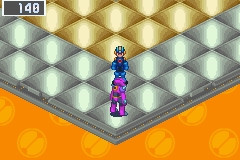
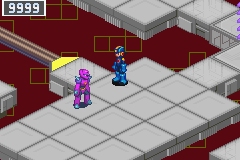
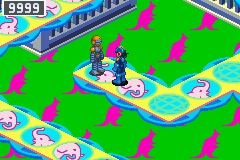
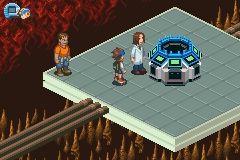
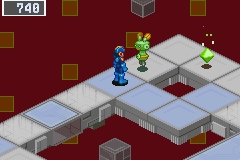
| In ACDC 3. You should know where this is by now. | 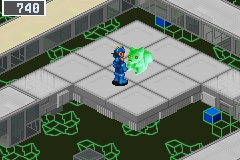 |
TotemΩ MushyΩ NeedlerΩ |
This battle is pain, pure and simple. Choose as many uber-powerful chips as you can. Kill the Mushy first, no matter what it takes. The Totem can only fire forwards and the Needler only ocassionally moves to fire across the back row of your area, which gives you one clear, non-poisoned space to relax in after Mushy's dead. |
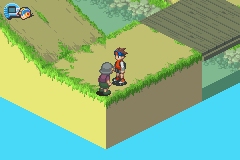
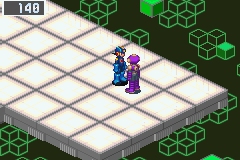
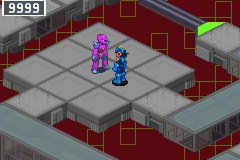
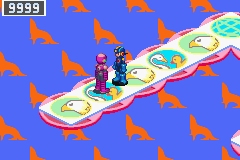
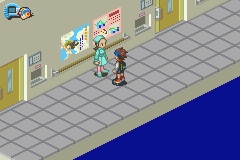
| Yoka Inn, beore the stairs. | 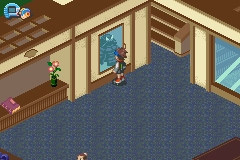 |
HeavyΩ BasherΩ VolcanoΩ |
This match is more a case of knowing how to dodge. Lots of homing chips like Roll, ProtoMan, PlantMan will work wonders. As usual, high-damage chips are the best to take. It's hard to avoid all three opponents at once. Aim to killl the Heavy first with some powerful Swords, as it's easiest to hit. |
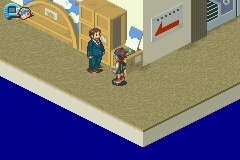
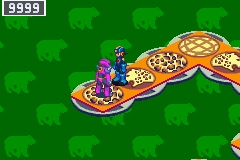
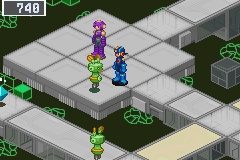
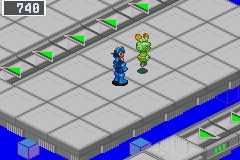
| Yoka 1, the water cooler | 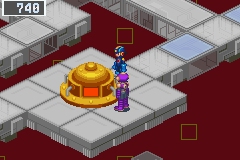
|
PengiΩ SlimerΩ JellyΩ |
The Slimer is the most annoying, but he also stays close, so some Sword attacks will see him dead quite quickly. Make sure you have at least one stage-changing chip, because if the Pengi uses Ice Stage you're screwed. Not nearly as hard as the last two. Very annoying though. |
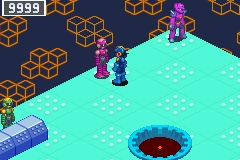
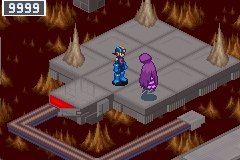
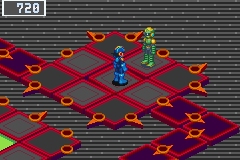
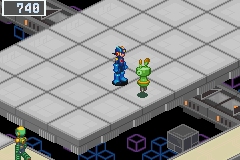
| Hades Island, the left gargoyle. | 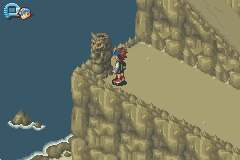
|
KillrEyeΩ ElebeeΩ MomograΩ |
I found that any of the Meteor attacks worked very well here. The Momogra can't defend against it, so pack a few. The KillerEye is not hard to deal with, it having only two lines of attack. The most annoying aspect is the Elebee, which zips around everywhere and acts very hard to hit. Again, homing attacks like ProtoMan, Roll etc are a good choice. This is probably the easiest battle out of all of them. |
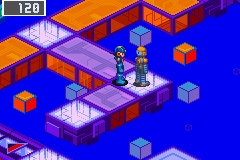
| Go to Undernet 4. Walk right past the statue and follow the path to the warp. Unlock the security cube and example the spike. | 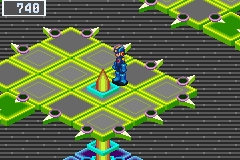
|
TwinsΩ TwinsΩ DominerdΩ |
The Twins are without doubt the most annoying enemies in this game. To defeat them you have to kill them both at exactly the same time, or their health regenerates to full power.Their attack consist of slow-moving targets that transverse your side, and are fairly easy to dodge.The Dominerd will randomly appear and attack you. Just dodge backwards and shoot/slice it until it dies. |
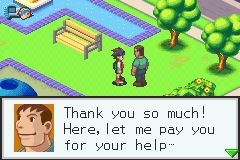
After you've killed it, go back to the girl and talk, and you'll give her the photo. In return she'll hand you a Recov300 R. Savour this moment. You've completeed the entire Job system and got some pretty sweet deals as well. ^^
|
|