This mission starts you off with a long range battle that has almost as many enemies as Mission 3 had PLUS a close range attack. You're in for a real treat or a whole lot of pain depending upon how you look at it.
|
| Here we go again, more Hi-Zack's seeking death. I think we should give them what they want. These Hi-Zack's have around 80AP so you're looking at a little while taking them down unless you have a high Gunshot ATC. | 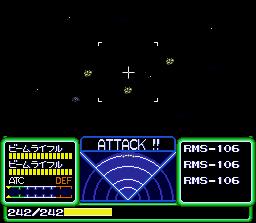 |
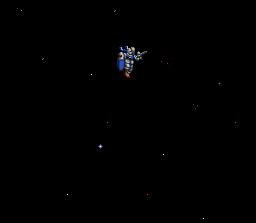
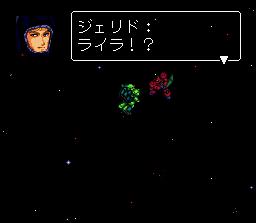
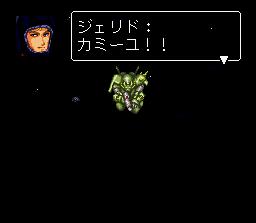 | Jerrid is back yet again. He's beginning to be as big a pain as Char was in Cross Dimension. He has close to the same amount of AP as all of the other Hi-Zacks that you have fought thus far. |
After Jerrid has been dealt with Lilla drops in to say "Hi". If only that was it then you wouldn't have nothing to worry about but she's in her Galbaldy and it seems she still hasn't gotten over the last fight. The Galbaldy uses the same tactics mentioned in Mission 3. | 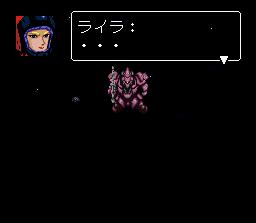 |
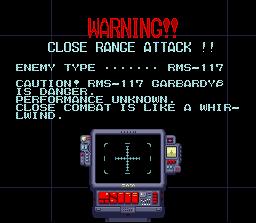 | Here's one screen you shouldn't be too thrilled to be reading. At least we can determine that we should NOT attack it with a beam saber. |
Now we're back to the good kind of battles. Make your way through the four areas destroying all Hi-Zack's that you come to. This is actually pretty fun after all the pain they may have put you through during the long range battles you get to take revenge. | 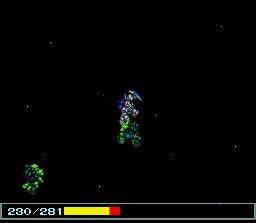 |
 | Once the plague of Hi-Zack's has been neutralized Kamiyuh in the Gundam fly off to finish off the Galbaldy. Hope you remember what that one screen said. |
There's my ole pal! How ya been? Me? Just fine in fact I've come to kill you, how's that sound? | 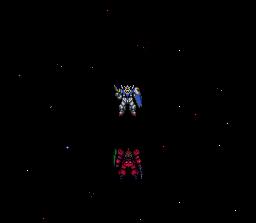 |
 | AH! That isn't any way to treat an old friend. The Galbaldy is armed with a beam rifle that does close to the same amount of damage it did during the long range bout. Luckily for you he can no longer get right in front of you and start blasting nonstop. |
Let's address the little close combat warning. The Galbaldy will cause you a lot amount of damage (about twice the amount of damage its rifle attack) but if you have a relatively high Close DEF then you shouldn't have anything to worry about. | 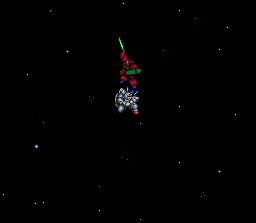 |
 | Jerrid yet again shows up only this time you've done left the scene and Jerrid makes it there just in time to see... |
...the Galbaldy and Lilla go... BOOM! Now's the time to do any dancing or whatever to celebrate your victory or just go onto the next mission. | 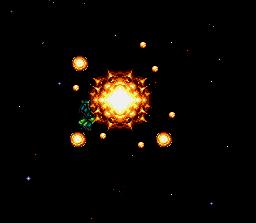 |