Massive amount of boss battles in this mission.
|
| The first battle is your every day run of the mill Hi-Zack squad which should be taken down rather easily. Nothing to worry about here. | 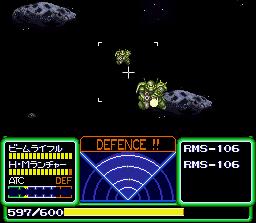 |
 | The second battle marks the beginning of a boss battle with the Messala piloted by Sarah. A moderatly difficult battle but nothing to serious that your H-M Launcer can't handle. |
Your best chance of taking the Messala out is while it is in its "Bird" mode. While in the "Bird" mode the Messala is faster but hopefully YOUR Newtype abilities can adapt and quickly seek it out and shot. The damage the Messala can deal while in "Bird" mode is nothing in comparison to what it can do in mobile suit mode. | 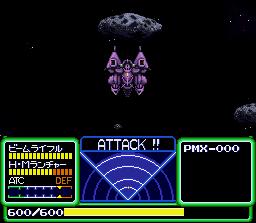 |
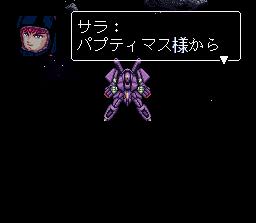
 | After sustaining about 800AP damage the Messala flees and we cut to a scene on board Scirocco's ship. It seems the Reccoa is wanting to defect to the Titans. |
Two more squads of Hi-Zacks follow the Messala's defeat. Finally, Yazan shows up to settle the score from Mission 14. This battle is easier than the Messala battle in every way possible; use previous tactics to beat the Gaplant. | 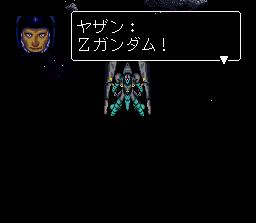 |
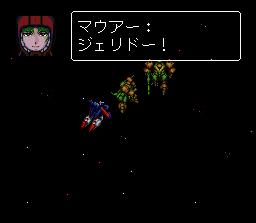
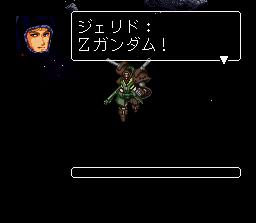 | Continue on through the mission while destroying three more squads of Hi-Zacks then Jerrid and Mouar return. This time they're both piloting Gabthelys and you're in for a very fun battle. |
The H-M Launcher is the most effective weapon against the two Gabthelys. The H-M Launcher deals 250-300AP damage where as the Beam Rifle only deals 100-150AP damage. The damage is increased while the Gabthely is in it hover mode but you have to catch it in order to take a advantage of it. After sustaining a total of about 1000AP the Gabthelys will flee, now its time for the Close Range battle. | 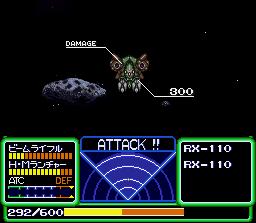 |
 | You're going to be fighting Hi-Zacks, and Marasais in the Close Range battle. They're extremly easy, their attacks usually don't deal much more than 40AP if that! Destroy them and make your way on through the mission. |
Jerrid will appear randomly in three places and Muoar will appear once with Jerrid. Jerrid flies off after one of your attacks have connected and dealt damage. You must deal about 500AP damage to Muoar for him to fly off. Once you've destroyed all the enemy units in the mission Jerrid, Muoar, and Kamiyuh will all fly off into the same direction. | 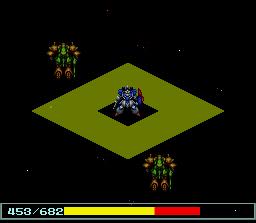 |
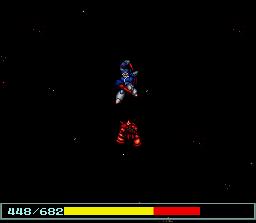
 | In the new area you have to fight Jerrid until Muoar shows and pushes Jerrid out of the way and gets killed by Kamiyuh. Jerrid will go into a rage and continue the fight. You must stop him! |
Kamiyuh's attacks will begin to destroy parts of the Gabthely but despite a damaged suit Jerrid continues to fight on. After about 2000AP worth of damage is dealt (yeah that's right, 2000) Kamiyuh assumes that Jerrid is dead and switches the Zeta Gundam to Wave Rider mode and flies off. Following this Muoar and Jerrid have an out of body experience much the same as Amuro and Lalah did during the One Year War. | 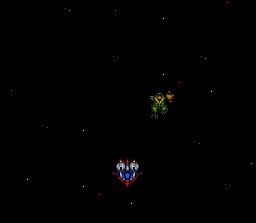 |