Date: UC 12.24.0079
Corresponding Episode(s): 35-36
The Battle of Solomon....The past missions are nothing, absolutely nothing compared to this one. You'll be fighting a true mobile armor and I don't mean the Zakrello. Comparing the Zakrello to the Big Zam is like comparing a Zaku to a Gelgoog, it just isn't possible.
|
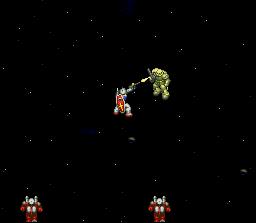
| During the briefing you witness a battle between two GM's and two Zaku's, but then..... | 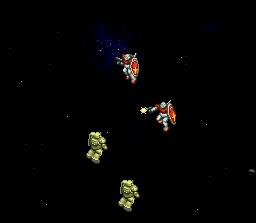 |
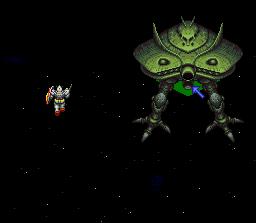
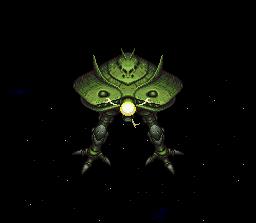 | Here is Dozle Zabi's pride and joy, the Big Zam, an extremly powerful and destructive mobile armor. |
The blast fired by the Big Zam demolishes any and everything in its path, in this case the two Zaku's and two GM's. Can't you just imagine what it can do to the Gundam?*shudder* | 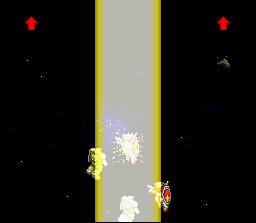 |
 | For this mission I recommend boosting your MOVE attribute to the max 'cause you're going to need it. Like Rick Dom's you have fought in the past that were barely damaged by close range attacks, there are also Zaku's made the same way. There are usually two Doms and two Zaku's per area. |
After about four or five rounds make sure you are not in the middle of the screen, because the Big Zam will attempt to fry you like it did the Zaku's and GM's. If by chance your hit your dead, but thats why we have savestates. | 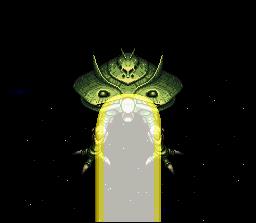 |
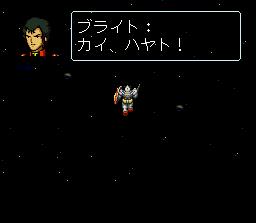 | You only have a certain number of turns to get to the Big Zam. DO NOT fight any of the Zaku's or Dom's! If you don't make it to the Zam before its second turn you're screwed because this time he'll fry you regardless of where your standing. When you do make it to the Zam, Bright calls the two Guntanks back leaving the Gundam and the Big Zam to duke it out. |
Now that you're in the same area as the Zam the battle becomes a whole lot easier. You no longer have to worry about the Mega-Particle Cannon just so long as you stay to the sides of it. The Zam has one weak spot that you must attack, center area below the cannon. You have two options here CLOSE or LONG range combat. After attacking the Zam it will side step and fire its cannon, but you shouldn't be in the way of the blast. | 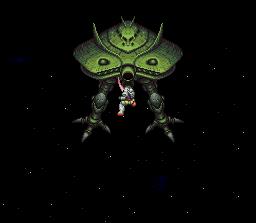 |
 | If you do prefer to use a long range weapon use the screenshot to help you attack the one spot on the Zam. Attack it anywhere else will result in a miss. |
After about twenty or so successful attacks on the Zam the battle will end with Sleggar flying the Core Booster into the Zam. | 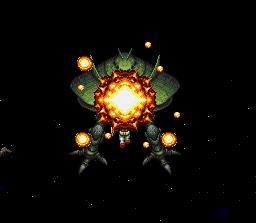 |
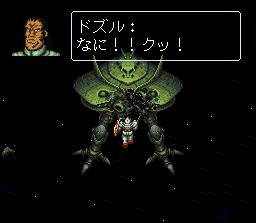 | Now Dozle's mad! You've almost destroyed the Zam and him with it. He only has one option left: to die at the hands of the Gundam. |
Amuro in the Gundam does a jumping Beam Saber attack finishing the Big Zam and Dozle Zabi for good. | 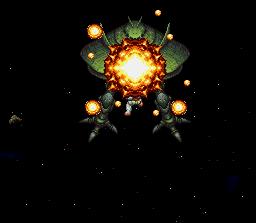 |